Compact Angling Photography – Part 2 by Steve Pitts
To get the best results out of your camera you’ll need to be familiar with a few of its basic functions and optional ‘manual’ effects – most compact cameras are auto-focus, so that’s one thing we don’t need to worry too much about, but there are other ways that you can influence how the camera takes the image by using either the ‘control’ or ‘mode’ dial which you rotate to select the required setting e.g. Auto, manual, video-clip, landscape, portrait or macro, or the ‘menu or mode pad’ which is a 4-way joy pad with OK selection button in the middle, which others feature.
The menu or mode pad activates a menu program which is viewed on the image screen and allows you to scroll through each icon option to select pre-set exposure, shutter and aperture settings for sports, macro, landscape, sunset, night-time, snow and beach etc. Some cameras have as many as 50 pre-set modes to cater for virtually every lighting situation, whether the subject is fast or slow moving, or how far from the picture taker the subject is.
I’ll cover the pre-set modes that I find I use the most and why I use them next.
Macro mode – which is nearly always depicted by a tulip-style flower.
This setting is used for keeping the subject in focus whilst getting very close to it to capture the seldom-seen minute details. Some cameras will focus down to 1cm and at such close range the ultra close-up images are almost equal to a low-power microscope or a high-powered magnifying glass.
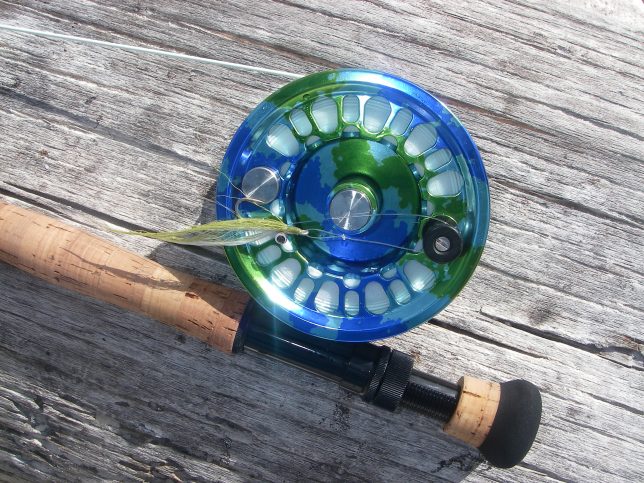
Macro shots often have an impact and beauty equal to any landscape, but of a world in miniature and you can some stunningly clear images of fish scale patterns, fish eyes or fin rays or if you’re feeling really arty, items of tackle.
With a bit of thought, Macro is also useful to achieve one of Henry’s trademark shots – the ‘Grip and Grin Shot’ – with the fish pin-sharp in the foreground and the angler ever-so-slightly out of focus in the background. Here’s how.
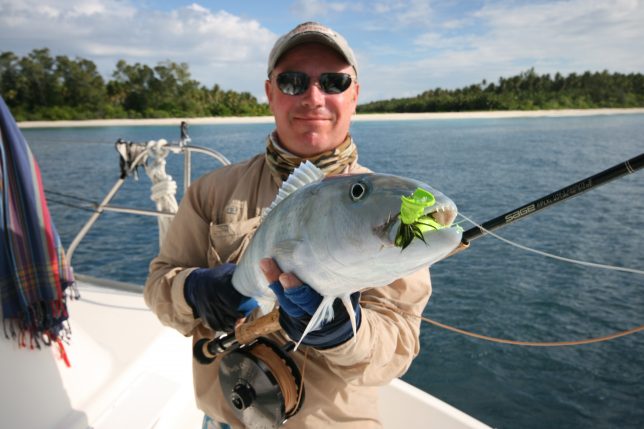
Get the angler to hold the fish level with his/ her shoulders. Whilst kneeling (you’ll need to kneel or get low) don’t worry if the fish partly obscures the angler’s face. The fish is the star of the show.
Select the Macro setting using the dial or menu pad and position the camera within say a metre of the fish and angler. The eye of the fish is the area of the picture that the viewer’s eye is drawn to first, so with the fishes’ eye positioned as the central ‘target’ in the view-finder or screen, press the shutter part-way to activate the auto-focus and lock in on the eye, or the most important part of the image may not be in focus.
Once the auto-focus has locked on to the fish (you’ll usually get a green square appear to confirm this or a red square to warn you that it hasn’t managed to focus), at such close range anything in front or behind the fish will be slightly out of focus and the fish will be the centre of attention.
Move the camera to the left or right (pan) to get the fish nicely positioned, but don’t move the camera backwards or forwards or the fish will be out of focus.
Move the camera up or down slightly to get both fish and angler’s head and shoulders in shot – then fully press the shutter button to take the picture, taking care not to move the camera too much.
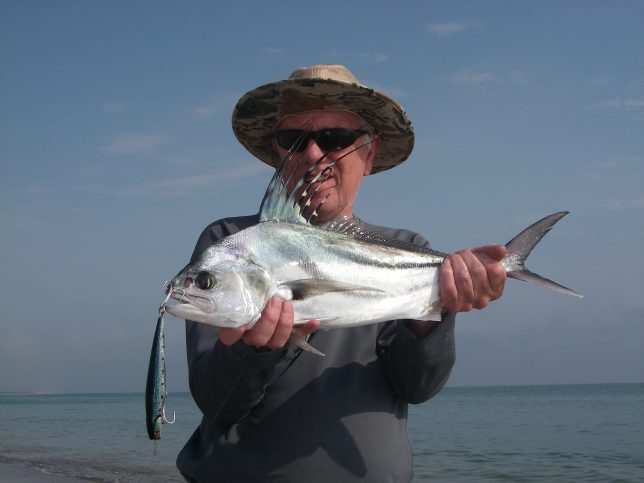
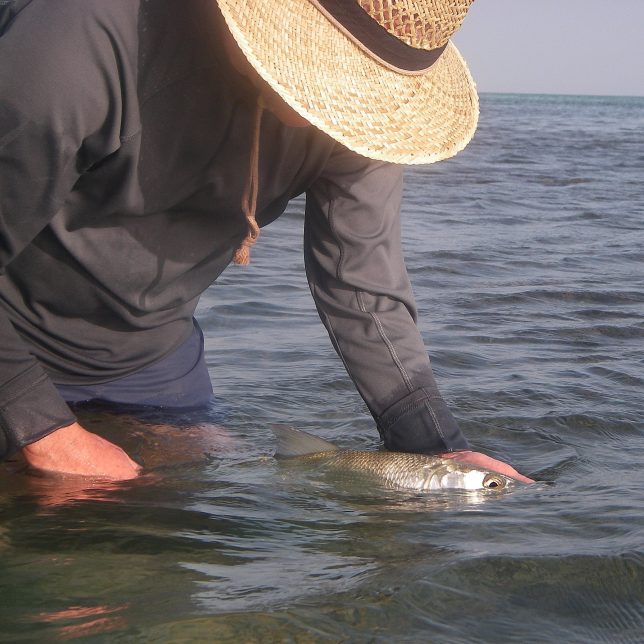
As it’s digital, quickly preview the result in the preview screen and if it didn’t quite work then take a few more, but be ever-mindful that the fish is in an alien and hostile environment, so get it back in the water as quickly as possible.
That should be your number one rule of photographing fish – the welfare of the fish comes before getting the shot, but why not take a few more snaps as it recovers and then swims away. This can be an almost intimate moment – a brief bond between angler and fish, so keep low down to capture the release in close up, rather from a distance, for added impact.
Macro mode is also useful for getting an effect where the eye of the fish is in sharp detail, but the body and tail gradually lose focus, thereby emphasising the head and eye.
This exploits the fact that in macro-mode there is limited ‘depth of field’ a term used to describe the distance in front and behind the subject, between which the image is in sharp focus and beyond which the background or foreground are out of focus.
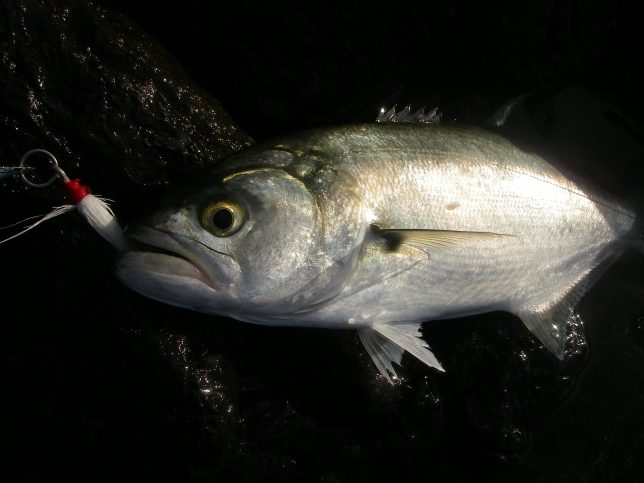
The closer you are to the subject and the more light you let into the lens the shallower the depth of field will be. Macro pushes the depth of field limits to extremes and a wide-angle landscape mode has the opposite effect, so you can get some pretty weird effects if you experiment with depth of field in macro setting.
Part 3 will be along next week ….