Compact Angling Photography – Part 3 by Steve Pitts
Continuing with the various pre-set modes that I use the most and why I use them …..
Sports mode – useful if you’re trying to capture anything moving at speed – a leaping tarpon, an angler casting, birds in flight or the rush for the bar at the end of a day’s fishing. By selecting sports mode you’re telling the camera to open the aperture to let more light in and to compensate for the correct exposure the camera will increase the shutter speed to freeze the action. The higher the shutter speed the better chances of getting a blur-free action shot.
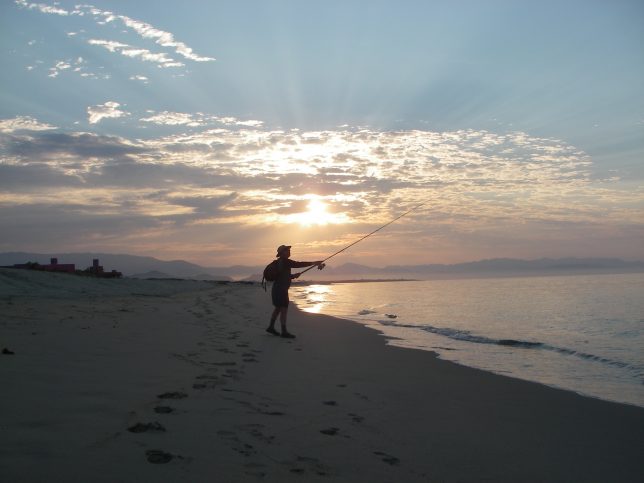
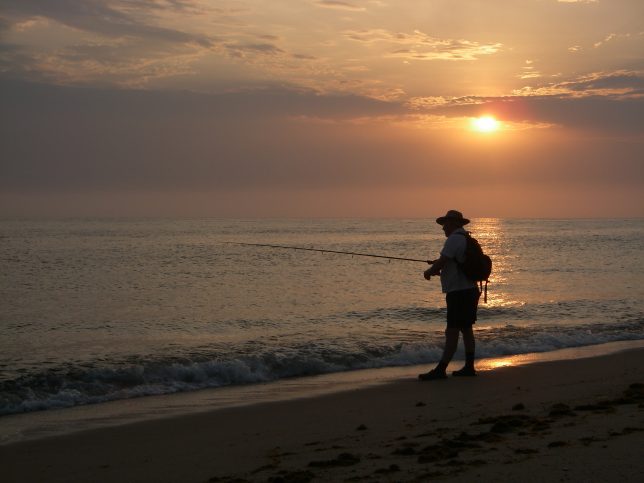
Sunset mode – Everyone loves a sunset or sunrise shot. They make for some of the most atmospheric covers of angling magazines and there are whole sections on angling forums dedicated to the setting sun, with crimson-streaked skies reflected in oily calm seas. Aaahhh!
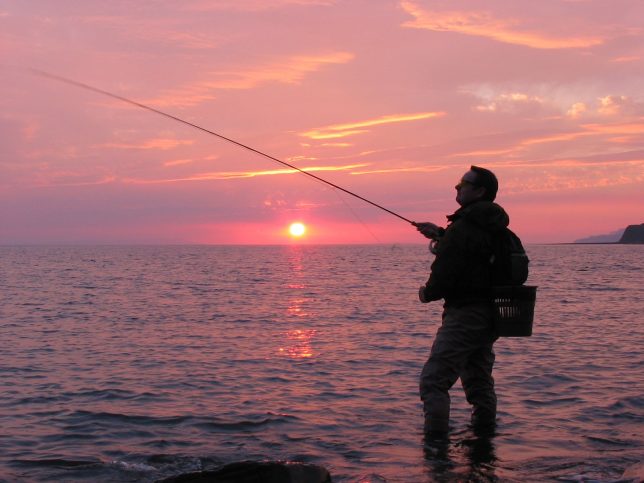
The sunset pre-set mode is your way of telling the camera that less light is actually needed than its light meter is telling it it needs. Bear in mind you are pointing the camera at a powerful light source (another understatement) so the camera will automatically set the aperture and shutter speed for the average light intensity, so that the picture isn’t over or under-exposed. You want to avoid this.
What you actually want is those glorious colours to be true to life, so you have to force the camera to under-expose the shot by dropping down at least 1 ‘F’ stop (1 unit of aperture setting) to get the best out of those yellows, blues, crimsons and golds and the contrasting blacks and vermillions to capture the perfect sunset / sunrise shot.
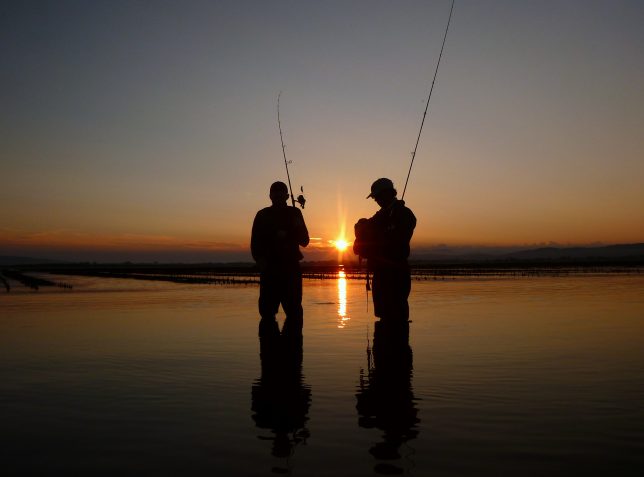
Few people ever see scenes like this, so capture them while you can by using your creative skills with the compact digital camera. They really are amazing pieces of kit and so easy to use. So, if your sunset photos are turning out a bit wish-washy, find the sunset setting on your camera and you’ll be amazed at the difference dropping an ‘F’ stop can make to your sunset/rise photos.
Zooooooom – I guess most people will already know that you can control the apparent ‘closeness’ to the subject by using the zoom function that all digital cameras have (if yours has a fixed focal length lens then you’ll have to move closer if you want the fish to fill the shot). Far too many shots are taken from too far away, so you can’t see the detail on the fish, so zoom in and fill the frame.
The zoom function is usually a rocker switch, slider or rotating bezel surrounding the shutter release button and is used to ‘frame’ the subject for – (a) zooming in to bring the subject closer, or make it appear bigger (also known as ‘telephoto’) or (b) zooming out to make it appear smaller, or further away (also known as ‘wide-angle’). I use the zoom function for effect (a) when snapping my own fish, as most of them are small and I prefer to use the zoom setting on wide angle to achieve objective (b) when taking pictures of other people’s fish.
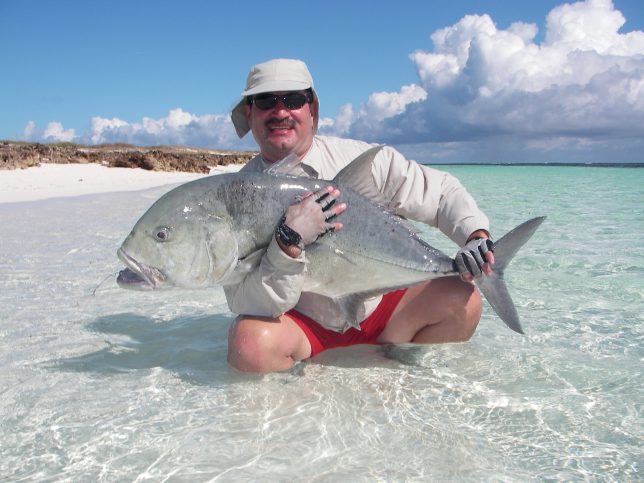
Flash mode – Most people set this to auto, so that when the camera detects low light conditions the flash will fire automatically, but with the flash set to full power, the reflections from the fishes’ scales often bounce the light back and bleach out the detail of the fish. I prefer to set my flash mode to ‘soft flash’ so that it fires for every shot, but it then slightly under-exposes the image and the details and colour of the fish are more true to life. Soft flash is also useful to use to highlight the subject or ‘fill in’ poorly lit subjects e.g. as in the earlier photo of Alan Vaughan and his crevalle jack, or to avoid shadows appearing too prominently, without completely illuminating or washing out the main focus of the image, which is quite common with powerful flashes and silver fish.
Through a Glass, Darkly – Henry says that he often uses polarizing filters on the front of his lens – he uses them to cut surface glare, allowing his camera to see into the water in the same way that we anglers use our polarized sun glasses to spot fish or ‘read’ the bed of a river. In photography circles, seeing into the water to spot fish is rarely a requirement (unless you’re on a photo-assignment for Fly Fishing Monthly or The TarponTimes), yet polarizing filters are used extensively by professional and amateur photographers world-wide.
In the same way that your Costa Del Mar or Maui Jim shades appear to accentuate the blues of the sea and sky and the contrast between the sky and the clouds the photographer mainly uses a polarising filter to add contrast and depth of colour to his/her photos. Polarizing filters, like UV and colour graded filters are fixed to the front of the lens of an SLR camera by a fine screw thread, so they don’t drop off and to ensure that stray light doesn’t enter between the filter and the lens as this would cause ‘flare’ across the photo. But compact Point & Shoot cameras seldom have a threaded lens, indeed many P & S compacts are flat-fronted with the lens recessed into the camera body – there is no threaded lens to attach a polarizing filter, so how do you get that professional look of a stunningly blue sky with white fluffy clouds into your shots then?
The answer is already here – use your shades – assuming they have polarized lenses.
Take ‘em off and press the camera’s lens tight against one of the lenses of your sunglasses: pre-focus the camera by pressing the shutter release half way down and the focus and auto-exposure will do the rest. Then – CLICK away.
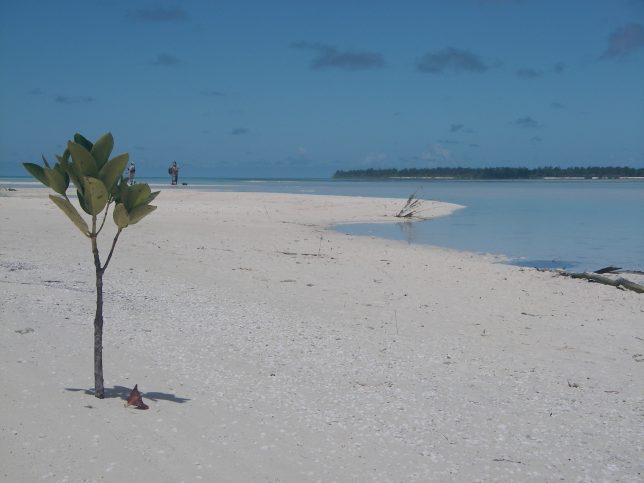
Blue skies, crystal-clear water, fluffy white clouds and swaying palm trees ~ what’s not to like?

Polarizing filters also do wonders for enhancing colour saturation in your photos, making the blues bluer, greens greener and yellows more intense.

I may be no David Bailey, but I know a good photo opportunity when I see one.
You can get some surreal effects by using your polarizing shades and don’t be afraid to experiment with portrait and landscape, telephoto and wide angle settings too.
So – those are a few of my hints and tips on getting better results from a digital compact Point & Shoot camera, within the limitations of lens quality and technical specifications that apply to this format of camera. Many of these technique will also apply to mobile phones. I hope they help you to achieve better results with your camera, whatever make and model or how expensive, or not, it is.
Thanks go to Henry Gilbey for the inspiration for this article and for those wishing to sample the real McCoy you can find his website at http://www.henry-gilbey.com/fishing-pictures
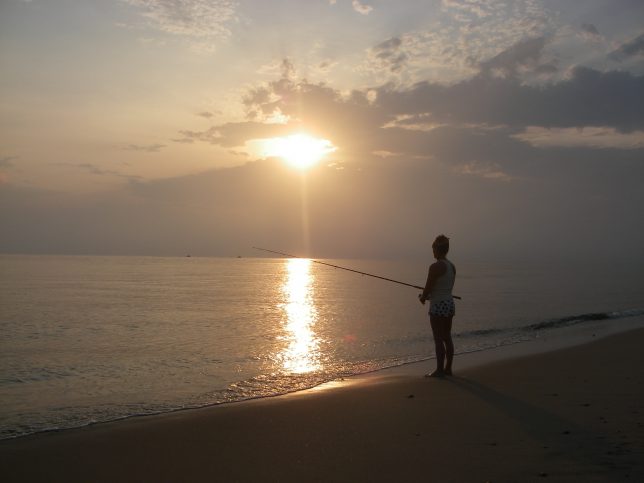
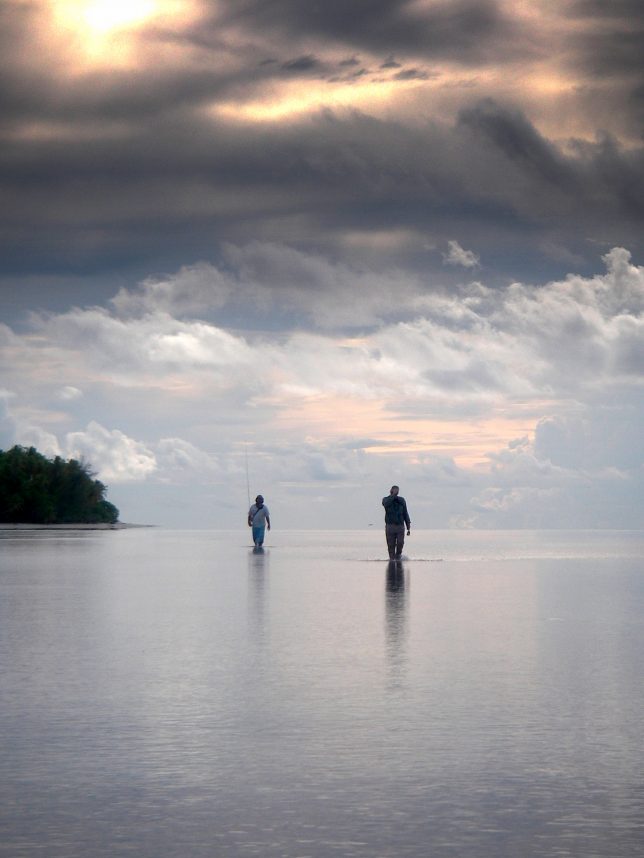
And finally one more sunrise can’t hurt …..